
How to Seal Your Grout
To Keep It Clean
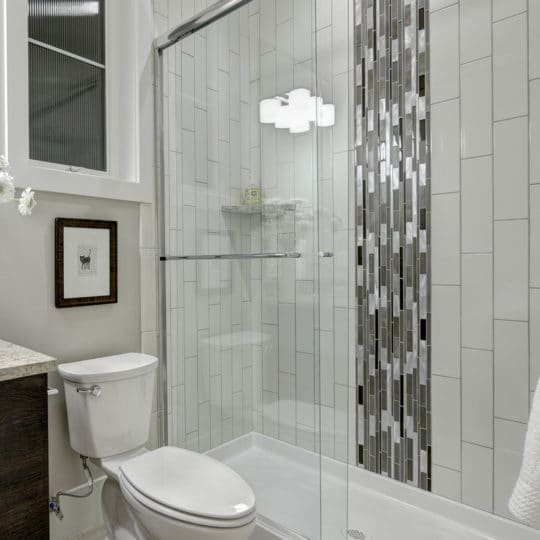
As many tile and grout owners know, it doesn’t take long for grout to show wear and tear. While your tile shines beautifully after a clean, the rough surface of the grout clings onto dirt. After a good (and proper) scrubbing, you can seal your groud to help your floors look cleaner.
How to Seal Your Grout
Supplies
- Grout cleaning supplies (here are two options using items you probably already have at home)
- Grout sealer
- Sponge or applicator brush
- Cloth
Directions
- Clean and repair. Use your grout cleaning solution and a toothbrush to scrub your grout so you are sealing a clean surface.
- Choose your sealer. Penetrating sealers use a water or mineral spirit base that lets the formula’s tiny particles of latex or silicone penetrate the granular structure of the grout. This type is recommended for bathrooms, especially showers. Membrane-forming sealers create a coating on the surface of the grout that resists water permeation. This type of sealer is recommended for areas that aren’t exposed to consistent water, like the kitchen.
- Pick your applicator. For thin grout lines, we recommend a sponge. If there is more space inbetween tiles, an applicator brush is more useful.
- Apply your first coat. Carefully work your way from left to right to ensure you don’t miss any spots.
- Apply a second coat. Go back over the grout to ensure a tight seal.
- Let it dry. Give it time to dry before exposing it to water or stepping on it.
Call JDog First. Then Seal Your Grout.
Before sealing your grout, make sure it’s as clean as can be. The experts at JDog Carpet Cleaning know just how to make your tile and grout shine like new so it is ready for your DIY project. You can expect on-time and respectful service with transparent pricing. We won’t stop cleaning until it meets our high standards. Call the Veterans at JDog today.